
Tubeless does not do away with punctures: it repairs them on its own, most of the time, without you noticing. The trouble starts on the occasions when it cannot — and there, at the side of the road, nobody quite knows where to begin.
There is an order. Five steps, from the simplest to the heaviest, and the rule is never to skip a rung. Most punctures are settled at step 1 or 3. The inner tube comes last, not first.
Procedure built from the technical guides of BikeRadar, ENDURO Mountainbike Magazine and Effetto Mariposa, and from the practice of our Liège and Brussels workshops. Prices incl. VAT taken from our online catalogue on 9 September 2026. Full sources at the end of this article.
6 mm
the puncture diameter sealant closes on its own, with nothing more than continuing to ride.
5 steps
in a set order. You only move on to the next one when the previous one has failed.
6 months
the interval for refreshing sealant. Once dry, it repairs nothing at all.
The order, in five lines
Here is the procedure. The rest of this article details each step.
1. Let it work turn the wheel to bring the hole downwards, and wait. The sealant does its job in seconds. This is the step everyone skips, and the one that works most often.
2. Reinflate a flat tyre does not seal: pressure is what pushes the sealant into the hole. Reinflate, then spin the wheel again.
3. The plug a rubber strip pushed into the hole from the outside, without removing the tyre. Two minutes, and it often lasts until the tyre wears out.
4. The patch a tubeless patch glued inside the tyre. Requires unseating a bead and drying time: a workshop repair, not a roadside one.
5. The tube the last resort, the one that always gets you home. An inner tube stays in the bag even when you ride tubeless. Especially when you ride tubeless.
The two exceptions to the order
→ A sidewall tear cannot be fixed by sealant or by a plug. Go straight to the inner tube, with a boot behind it.
→ A dented or buckled rim will no longer hold a tubeless seal. Inner tube, moderate pressure, gentle ride home.
Step 1: do not get off the bike straight away
The reflex is to stop dead and flip the bike over. That is exactly what not to do.

Sealant is a liquid that pools at the bottom of the tyre. To block a hole it has to reach it — so the hole has to pass through the bottom, and the wheel has to be turning. Keep riding gently for ten seconds or so, or spin the wheel by hand to bring the puncture to the bottom.
You will often see a jet of white liquid, then a few bubbles, then nothing. That is it: the hole is sealed. Fresh sealant closes a puncture up to around 6 mm (a quarter of an inch) without trouble, which covers virtually every thorn, flint and staple.
And if the object is still stuck in the tyre? Leave it there. As long as it holds, it acts as a plug. You will remove it in the workshop, tyre off, with fresh sealant ready to close behind it.
Why it does not always work
→ The sealant has dried out. By far the leading cause. It evaporates in five to seven months. A tyre that has not been opened for a year contains nothing but a dry skin of latex, which is useless.
→ The hole is too big, or it is a cut rather than a puncture. A clean slit does not close: its edges move with every wheel revolution.
→ The tyre is too soft. With no pressure, nothing pushes the liquid into the breach. That is the whole point of the next step.
Step 2: reinflate before drawing conclusions
Many punctures declared « unrepairable » are simply punctures nobody bothered to reinflate. Put pressure back in, spin the wheel with the hole downwards, wait thirty seconds. In one case out of two, it is over.
On the road, a mini pump rarely reseats a tyre that has come fully off the rim: that needs high flow, so a CO2 cartridge or a floor pump. That is why a cartridge belongs in the saddle bag even if you carry a pump.
The CO2 and sealant trap
→ CO2 leaves the cartridge very cold. That thermal shock makes the latex in most sealants coagulate: the liquid turns into rubber balls, and it no longer repairs anything.
→ Two workarounds: inflate with the valve at the top, so the liquid stays at the bottom of the tyre, and inflate slowly with an adjustable head rather than all at once.
→ After inflating with CO2, treat the sealant as due for replacement at home. You are riding on an uncertain reserve.

Step 3: the plug, the real roadside repair
Two minutes, without removing the wheel or taking the tyre off the rim. This is the tool that changed life for tubeless riders.
A plug is a soft rubber strip threaded into a hollow needle, then pushed into the puncture from the outside. The sealant finishes the seal around it. Fitted properly, it lasts as long as the tyre.
1. Locate find the hole and wipe the mud away around it. Remove the thorn or flint if it is still there. If you are riding in pairs, have someone cover the hole with a finger while you prepare the tool.
2. Ream pass the tool through the hole once, empty. Enlarging a puncture feels counter-intuitive, but without it the plug will not go in.
3. Push in push the plug until only 5 to 10 mm is left showing. On a large hole, stop halfway to leave a « V » shape that acts as a stopper.
4. Remove the tool hold the plug with one hand and pull the needle out with the other, twisting. If the plug comes out with the tool, start again.
5. Reinflate put the pressure back, then stand the wheel with the plug against the ground for a few minutes: the sealant seals around it. Trim off whatever sticks out, flush with the tyre.
A fitted plug is not removed. Not to « tidy up », and not when fitting the next tyre, as long as it holds. Here are the kits we keep in stock.
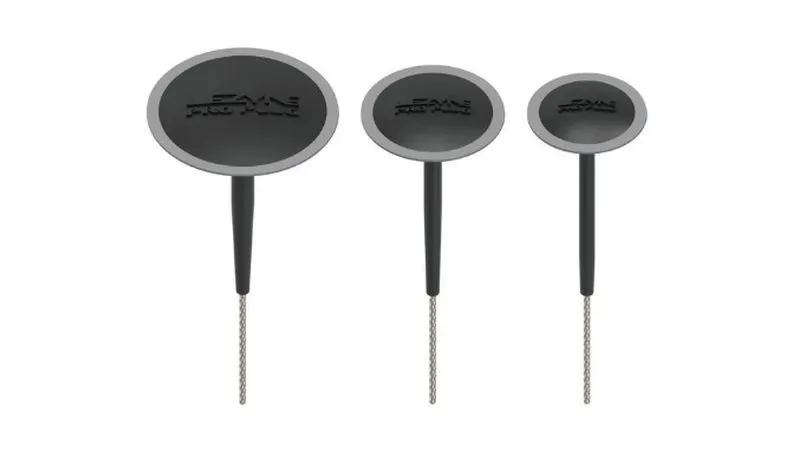
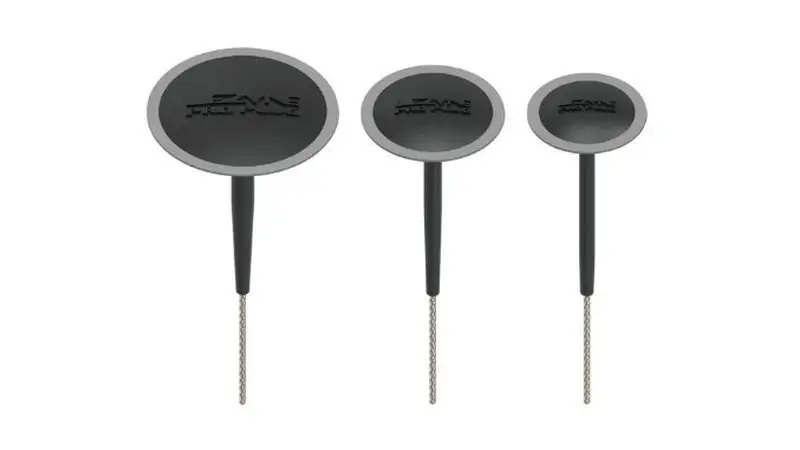
The reaming and insertion tool, with its plugs. Compact: it fits in a jersey pocket or a saddle bag.
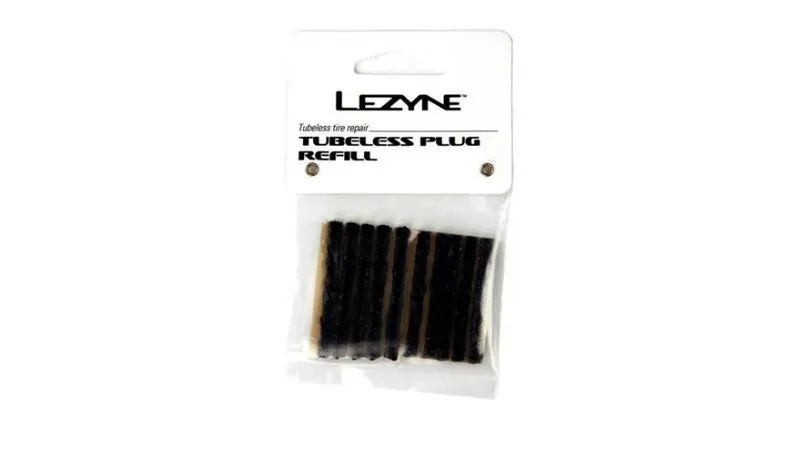
The plug refill. Buy one the moment you use the tool: setting off with an empty one is pointless.
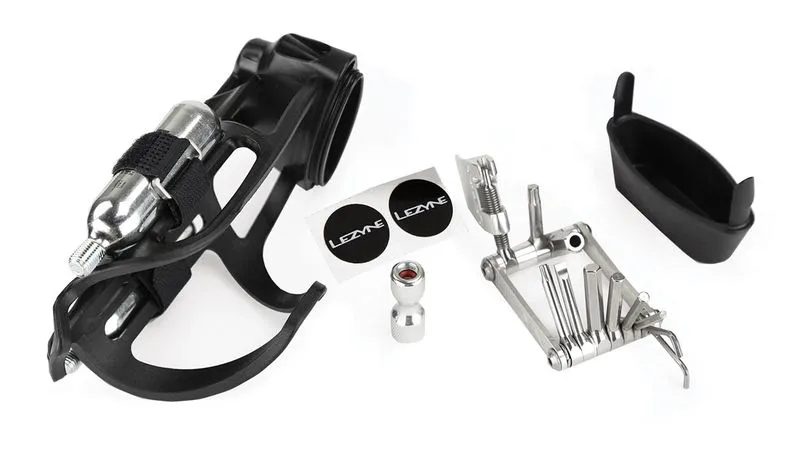
The complete kit stored inside a bar end: tool, plugs and multi-tool, always on the bike. You can never forget it.
Step 4: the tubeless patch, from the inside
When the hole is too big for a plug, or when the plug will not hold, what remains is a tubeless patch glued to the inside of the casing. This is not a roadside repair: you have to unseat one bead, and above all you have to wait.
Deflate completely, then take just one side of the tyre off the rim. There is no need to remove it entirely, and it avoids spilling the sealant.
Sand an area of about 30 mm around the hole, with fine paper. Then degrease: dried sealant prevents any adhesion.
Glue a thin layer of vulcanising solution, leave 30 to 60 seconds until it turns tacky, then apply the patch and press from the centre outwards for a minute.
Wait from a few minutes to several hours depending on the product, before setting the tyre back up tubeless. Precisely why you do not do this at the roadside.
Take advantage of the open tyre to take stock: condition of the rim tape, how much sealant is left, other punctures you had not spotted. This is the right moment to add fresh liquid.
Step 5: the inner tube, the last resort
It repairs nothing. It gets you home, and that is exactly what we ask of it.
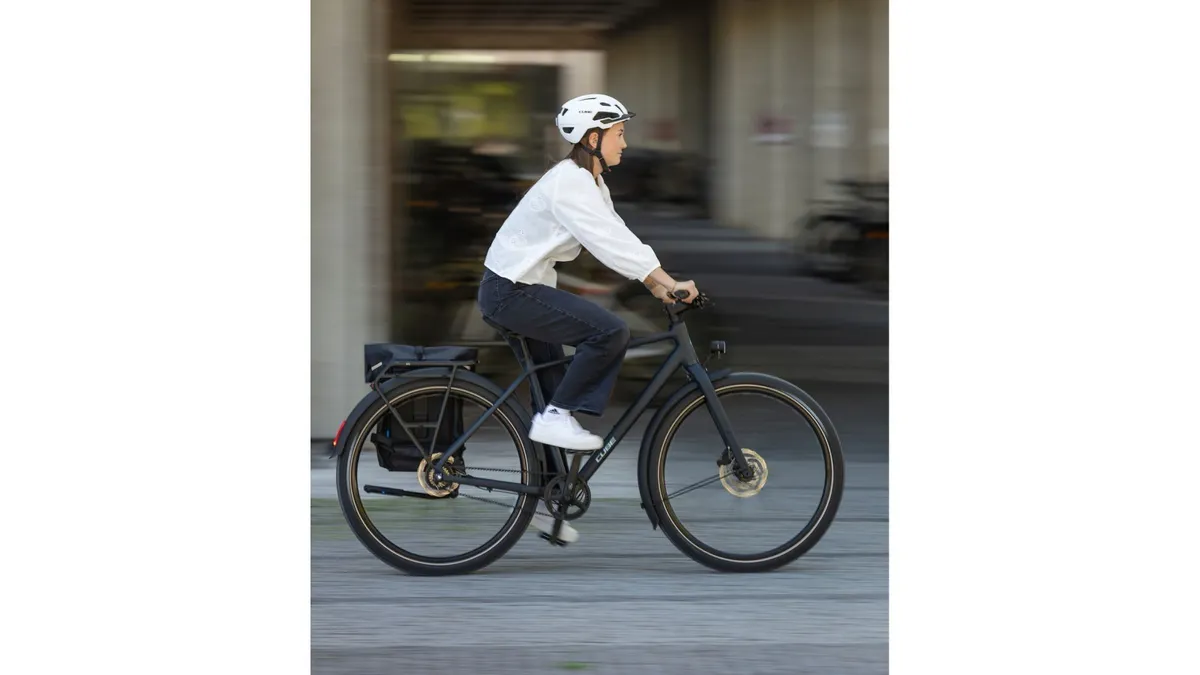
Fitting a tube inside a tubeless tyre is simple, but four details will wreck the job — usually at the worst possible moment.
The four traps of the spare tube
→ Remove the tubeless valve. It is screwed to the rim and occupies the only hole available. Undo the nut, take it out, and keep it: it costs €20.
→ Feel the inside of the tyre with a finger, all the way round. The thorn that caused the puncture is often still there, and it will pierce the new tube within five minutes.
→ Slide in a boot if the casing is cut. A piece of old tyre, a bar wrapper, a banknote: anything flexible and non-porous, wedged between the tube and the cut.
→ Inflate moderately. Leftover sealant makes the inside slippery and the tube can shift. Ride gently, and set the tubeless up properly once home.
A plug already in place does not bother the inner tube, provided you have trimmed whatever stuck out on the inside. If it makes a bump, a piece of tape over it is enough to protect the tube.
What to carry with you
None of the above helps if the kit stayed at home. Here is the minimum contents of a saddle bag for a tubeless rider, plus what you need to service the system in the workshop.
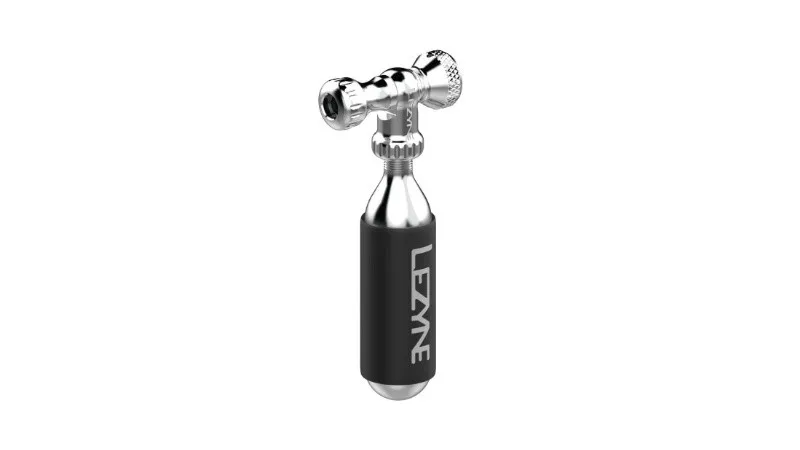
The adjustable-flow head: this is what lets you inflate slowly and spare the sealant. Presta and Schrader.
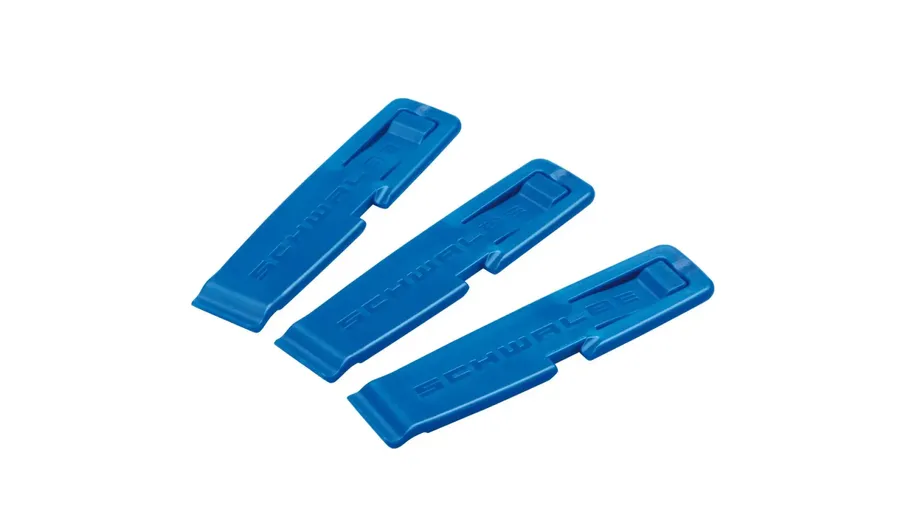
Essential from step 5 onwards. A tubeless tyre sits tighter than a conventional one: by hand, it will not budge.
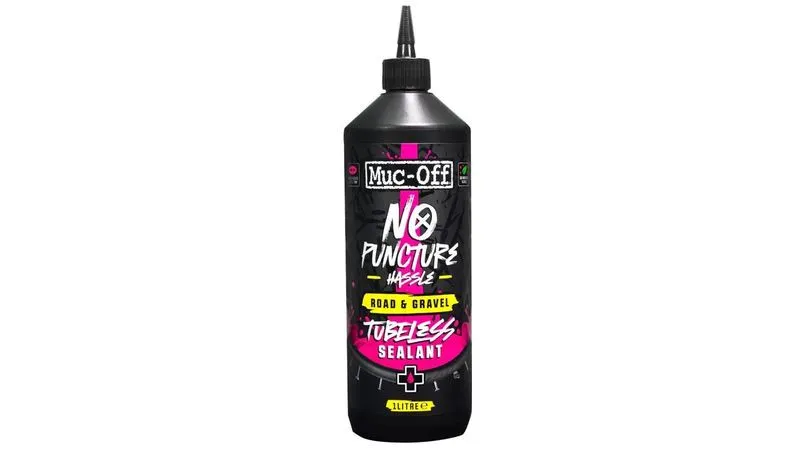
Road and gravel sealant in a one-litre bottle. Enough to refresh both wheels twice a year for several seasons.
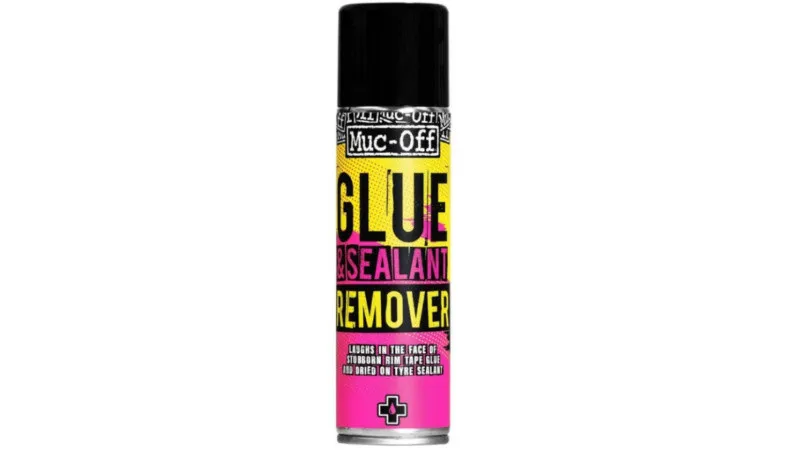
For stripping dried sealant off a rim or casing before gluing a patch. Without it, nothing sticks.
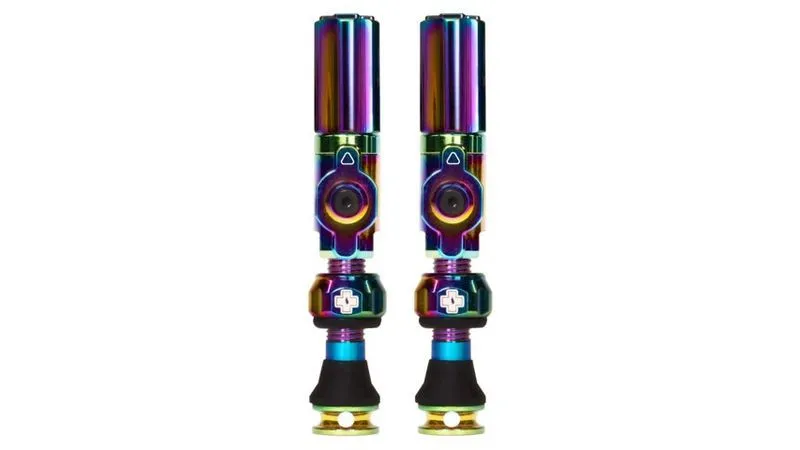
Wide-bore valves: sealant flows in and out without clogging the valve. A detail that saves a lot of frustration.
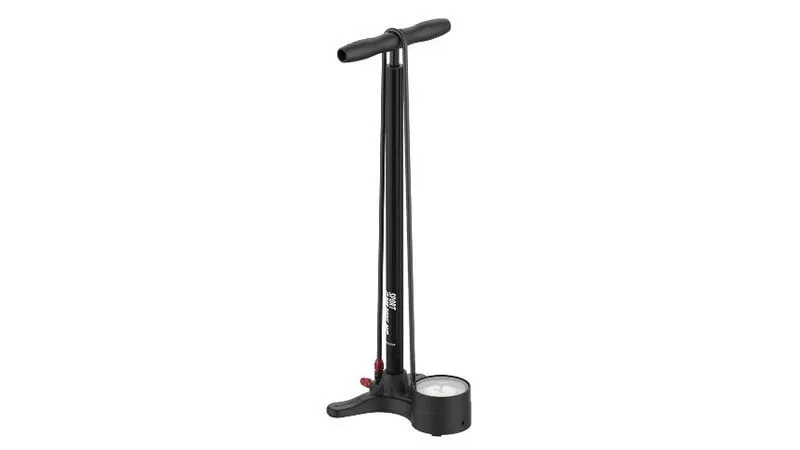
The floor pump with a gauge. On tubeless, exact pressure matters more than elsewhere: too low, and the tyre unseats.
The questions we get asked in the shop
How often should sealant be refreshed?
Every six months, or at every tyre change. Latex dries out by evaporation — faster in summer and on thin, high-pressure tyres. A simple check: shake the wheel next to your ear. If you hear no sloshing, there is no liquid left, and your tubeless is nothing more than a badly sealed ordinary tyre.
Should the plug be removed afterwards?
No. As long as it holds, leave it, including for the whole life of the tyre. Just trim flush whatever sticks out on the outside, so it does not get torn off on a root. Removing it reopens a hole the sealant may well not close again.
My tyre will not seat on the rim, what now?
That is a flow problem, not a pressure problem. A mini pump sends too little air per stroke: the bead never climbs. You need a CO2 cartridge, a pump with a reservoir, or a compressor. Workshop tip: removing the valve core doubles the flow. And soapy water on the bead helps a great deal.
Can a sidewall tear be repaired?
Not durably. The sidewall is the most flexible part of the tyre: it deforms with every wheel revolution and reopens any repair. On the spot, fit a boot and an inner tube to get home at moderate speed. After that, replace the tyre. A repaired sidewall letting go at 40 km/h on a descent is not a risk worth taking.
Is tubeless really worth it?
On trails and gravel, without hesitation: most punctures seal without you stopping, and you can run lower pressure, so more comfort and more grip. On a city bike covering 2,000 km a year, the six-monthly sealant service is often more of a chore than the benefit is worth. That is the one case where we sometimes advise staying with inner tubes.
Our sources
Order of repairs, reaming, fitting the plug, internal patch and tyre boot: BikeRadar, « How to repair a punctured tubeless tyre » (bikeradar.com).
Field procedure, length of plug left showing, sidewall tear and spoke cases, refreshing sealant every six months: ENDURO Mountainbike Magazine (enduro-mtb.com).
Latex coagulation on contact with CO2, the role of thermal shock and the workarounds (valve up, reduced flow): Effetto Mariposa (effettomariposa.eu).
Sealant's ability to close a puncture up to a quarter of an inch: Stan's NoTubes (notubes.com).
Prices incl. VAT: KAMEO Bikes online catalogue, recorded on 9 September 2026.
Not sure what state your tyres are in?
Drop by the workshop: we check the sealant, the rim tape and the valves, and show you the plug technique on your own wheel.